step by step to set up a contact form on your WordPress website or Blog
If you ever need a simple page where you want your customers to contact you, Contact Form 7 is really easy to use plugin for this job.
You can simply design your form with required text fields and even add a CAPTCHA (recommended). Then specify an Email so the messages will be sent to your specified email.
Setting up a contact form is as easy as following these steps:
- Login to your WordPress admin section via yourdomain/wp-admin
- From the left menu select Plugins -> Add New

Plugin Menu
- Search for Contact Form 7 and click install and Activate
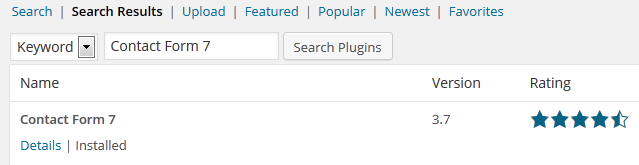
Contact Form Install
- After installation a new option (Contact) will be added to the left menu
- Click on Contact -> Add New

Add New Contact Form
- Choose your desired language and click Add New
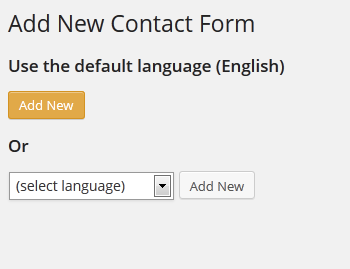
Choose Language
- An option page will be opened
- On top of the page enter a name for your Form
- Under Form section you can design your form the way you want. There is no need for any coding knowledge. Simply click on the Generate Tag drop down menu on the right and select an appropriate element for your form then the options will appear. Customize the fields as needed then add the generated code to left section.

Design Contact Form
- It is recommended to use the CAPTCHA tag in your form to prevent people to spam your email. However to use the CAPTCHA tag you need to install Really Simple CAPTCHA plugin the same way as you installed Contact Form 7 plugin.
- Select CAPTCHA tag from the drop down to see the options
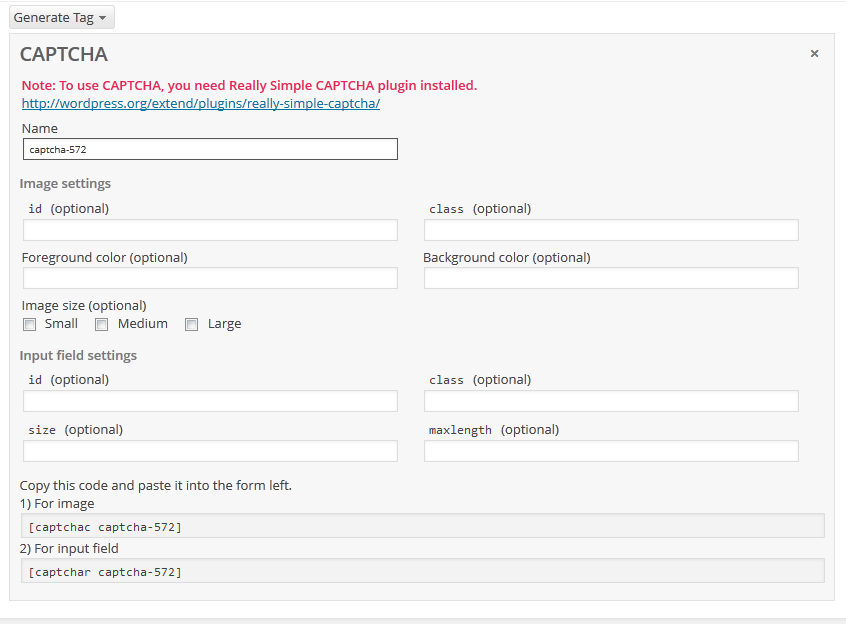
CAPTCHA
- Copy & Past the code generated from right side to left side, just under the Submit. Your form tags now would look like something like this

New Form Tags
- Now we need to specify an email that the messages will be sent to. Scroll down and under Email section add your email address. The rest of the options can be left as default
- Click Save on top of the options
- After options are saved a code will be generated which can be paste in any section of your site to see your customized Contact Form. Copy the generated code.
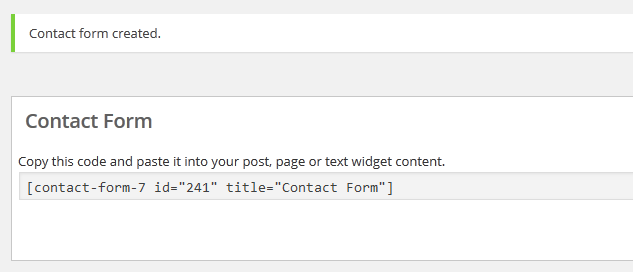
Generated Form
- Now we can create a new page and add our form into it. From WordPress Menu on the left select Pages -> Add New
- Choose a name as contact for your page
- Add some message for your users and paste the code
- Publish your new page and preview your page. You can play with CSS Class options in your design to change the looks.

Final Form
I hope this was useful. Visit http://contactform7.com/ for more details 🙂
